 By
By 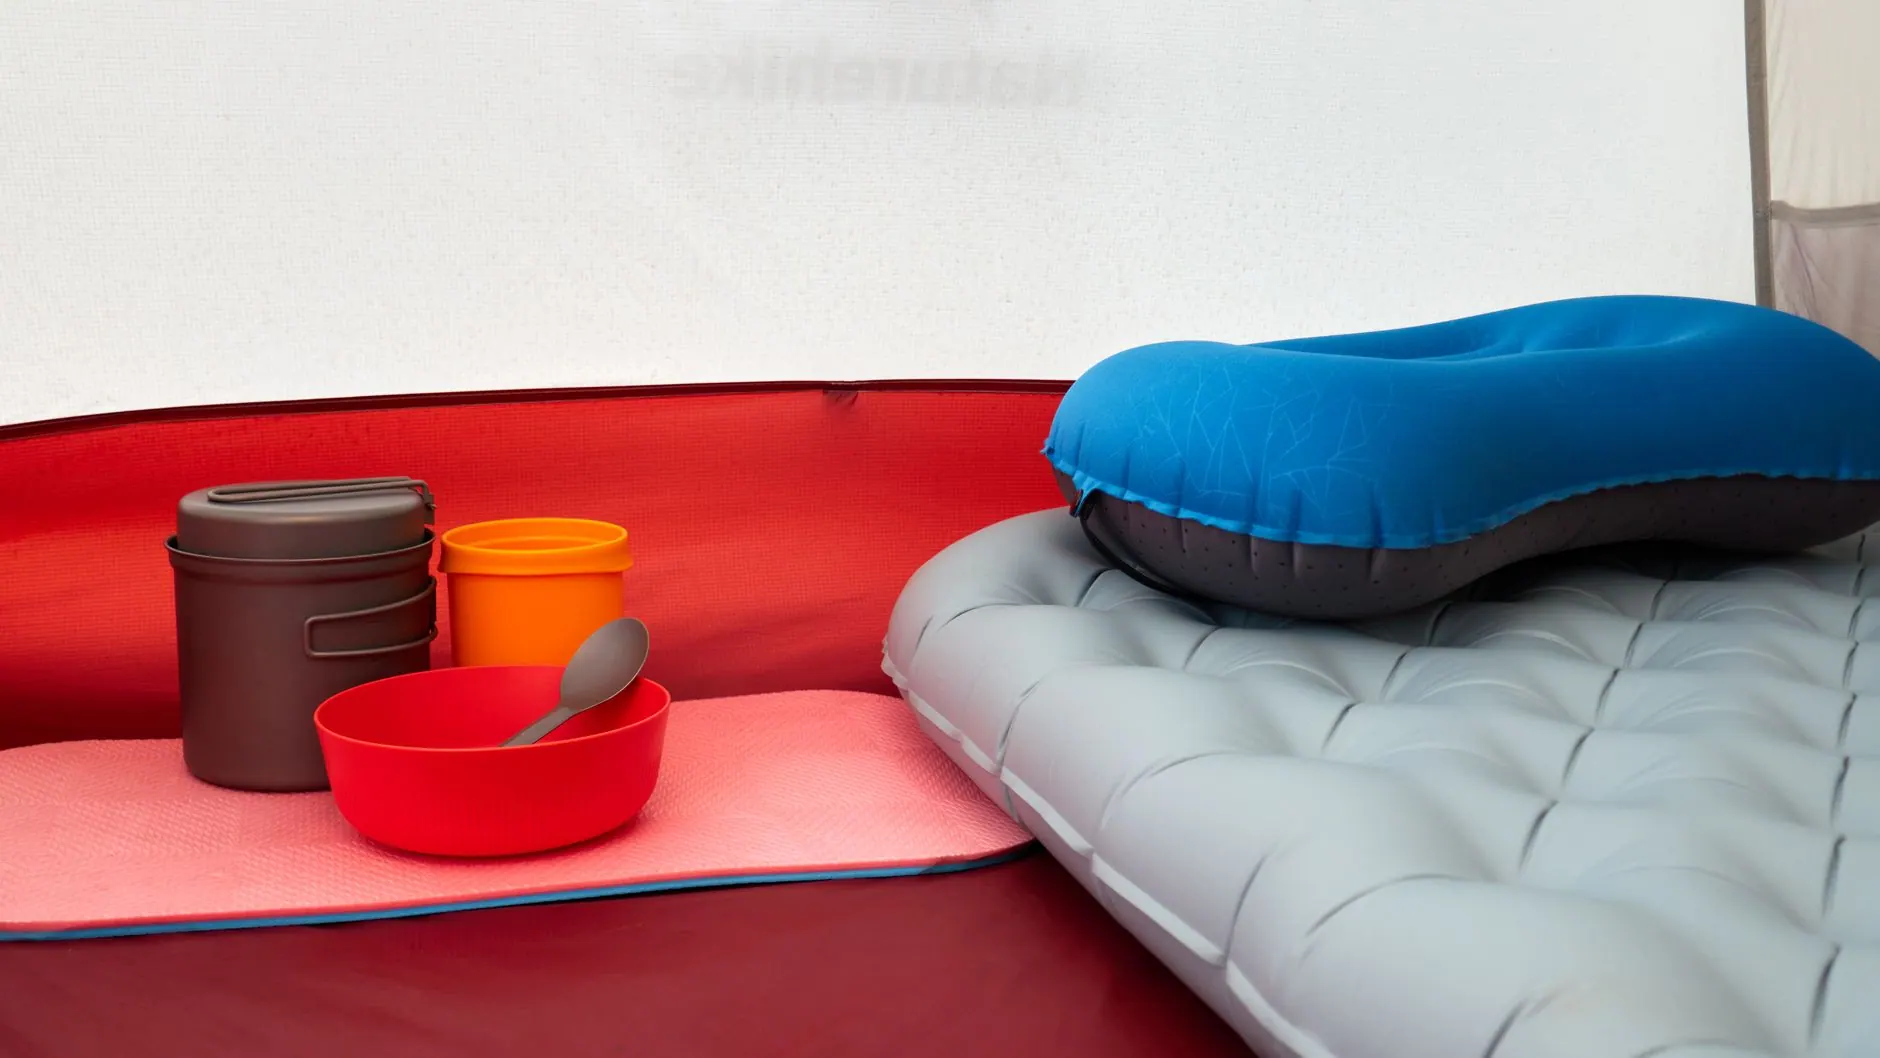
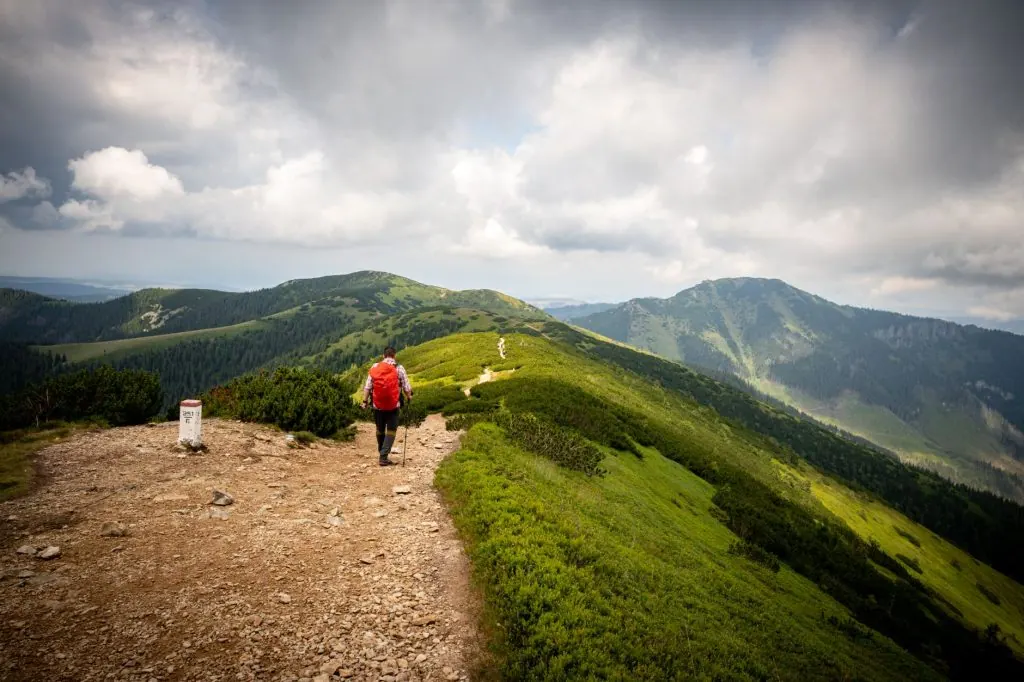
The trail ahead is clear, the air is crisp, and your pack feels light. Then, a sudden downpour soaks your socks, your phone dies just as you need to check the route, and the evening brings a chill that your standard gear cannot handle. This is not a failure of skill; it is a failure of preparation. Successful trips are rarely defined by grand adventures but by the quiet reliability of the equipment you carry.
Choosing the right equipment is about balancing weight against utility. Every gram you add to your pack requires energy to carry, yet every item that fails you costs more in comfort, safety, and time. This guide breaks down the essential camping gadgets and hiking gadgets that earn their keep. We will look at how to navigate without relying solely on screens, how to manage power in the wild, and how to secure clean water and warmth. These are the tools that turn a stressful situation into a manageable one, ensuring you return home with the same stories you started with.
Gear that earns its weight
The golden rule of packing is not to bring everything you might need, but to bring what you will actually use. Weight is a constant tax on your energy. For every extra kilogram you carry, you expend more energy with every step, and you fatigue faster. This fatigue changes how you move, how you think, and how you react to problems. To decide if a gadget earns its weight, ask three questions: does it solve a problem that occurs frequently enough to justify its mass, is it lighter than the alternative, and can it perform multiple roles?
Consider the difference between a heavy, multi-function tool and a dedicated, lightweight one. A heavy multi-tool might save space, but if you only need it once, that weight is dead weight for the rest of the journey. Conversely, a simple paracord might seem trivial, but it can secure a tarp, repair a strap, or create a clothesline, paying for itself many times over.
When evaluating camping gear, look for materials that offer high strength-to-weight ratios. Titanium, carbon fibre, and synthetic fabrics often outperform steel and canvas in specific contexts. However, do not chase the lightest option blindly. A heavier item might be more durable or easier to use with gloves on, which matters more when you are exhausted.
Also, consider the redundancy of your gear. Do you need three different tools to achieve one result, or can one device handle it? Consolidation is a form of weight saving. A single stove that boils water and cooks meals is better than a separate kettle and pot. Yet, over-consolidation can lead to failure if that one item breaks. The key is to identify the single point of failure in your system and mitigate it without adding excessive bulk.
Start your packing list with the big items: shelter, sleep system, and hydration. These usually account for the majority of your weight. Once those are sorted, add the smaller gadgets. If you find yourself adding a gadget because "it might come in handy," ask if the inconvenience of carrying it outweighs the risk of it not being there. For most leisure travellers, the answer is no. Keep your kit lean, reliable, and purposeful.
GPS and compass
Modern navigation often relies too heavily on electronic devices. A GPS unit or a smartphone app provides precise coordinates and topographical maps, which are invaluable for finding specific landmarks or tracking your progress. However, these devices are vulnerable to battery failure, screen damage, and signal loss in deep valleys or dense forests. A compass, by contrast, is mechanical, requires no power, and works in the dark. It is the ultimate backup, but it requires skill to use effectively.
Using a GPS and a compass together creates a robust navigation system. The GPS gives you the "where am I" and "where is my target" data quickly, while the compass allows you to maintain direction and verify your position if the electronic device fails. Learning to orient a map with a compass is a fundamental skill. You do not need to be an expert, but you must know how to align the map with the terrain so you can identify ridges, valleys, and water sources.
Battery management is critical when using electronic navigation. Turn off non-essential functions like Wi-Fi and Bluetooth to preserve power. Use a low-brightness screen setting and keep the device in an insulated pocket to prevent battery drain in cold conditions. Always carry a backup power source, such as a power bank, and know how to charge your devices efficiently.
Offline maps are essential. They consume data but provide detailed information without a signal. Download the maps for your specific route before you leave home. If you rely on cellular data, you risk running out of credit or finding yourself in a dead zone where no amount of signal searching will help.
Knowing how to read a map is also part of navigation. Look for contour lines to understand elevation changes. Identify water sources, as these often lead to trails or settlements. Recognise man-made features like fences, roads, and buildings, which are easier to spot than natural features. Practice these skills in familiar areas before taking them to remote locations. If you get lost, stop, locate yourself on the map, and plan your route before moving. Panic leads to poor decisions.
For more details on essential items, see 3 Must Have Accessories when You Go Out Camping.
Power banks and charging
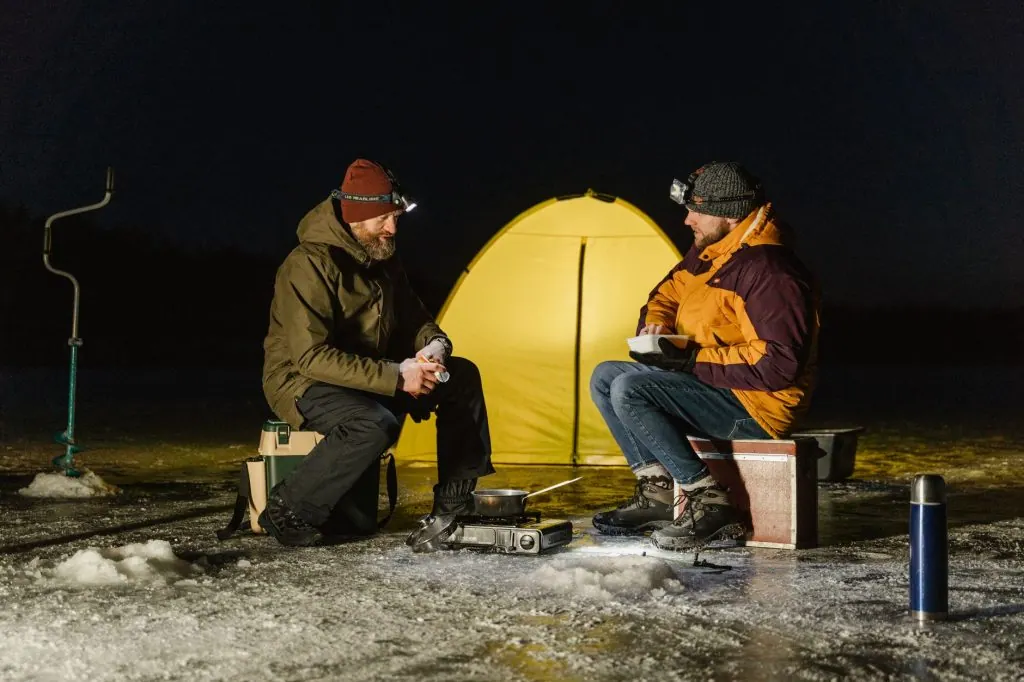
In the modern outdoor world, power is as essential as water. Your GPS, phone, headlamp, and camera all need electricity. A power bank is a portable battery that can recharge these devices when you are away from mains power. However, not all power banks are created equal. Capacity is measured in milliamp-hours (mAh), but the actual usable energy is lower due to conversion losses. A 10,000 mAh power bank might only deliver around 6,000 mAh of actual charge.
Choose a power bank with enough capacity for your needs. For a weekend trip, a small power bank might suffice. For longer expeditions, consider a larger unit or a solar charger. Capacity is not the only factor; weight and size matter. A heavy power bank might negate the benefit of carrying a lightweight device.
Cold weather affects battery performance. Lithium-ion batteries lose capacity in the cold. Keep your power bank close to your body to maintain its temperature. If it gets too cold, it may not charge your devices efficiently. Conversely, extreme heat can also degrade battery life, so avoid leaving it in direct sunlight for prolonged periods.
Solar panels are a convenient way to recharge on the go, but they are often slower than expected. A small solar panel might take a full day of bright sun to charge a power bank completely. They are best used as a supplementary source rather than a primary one. Ensure the panel is clean and positioned at the correct angle to the sun for optimal efficiency.
Cable care is often overlooked. Damaged cables are a common cause of charging failures. Use durable, braided cables and store them properly to prevent kinks and cuts. Carry a spare cable in case one breaks. Also, ensure you have the correct connectors for your devices. USB-C is becoming the standard, but some older devices still use micro-USB or proprietary connectors.
Before leaving, fully charge your power bank and your devices. Test them to ensure they work correctly. If you are using a power bank with a digital display, check the charge level regularly. Do not wait until it is completely dead to recharge it, as this can damage the battery over time.
For tips on packing your electronics, check out Summer Holiday Packing This Year.
Solar-powered lanterns and lighting
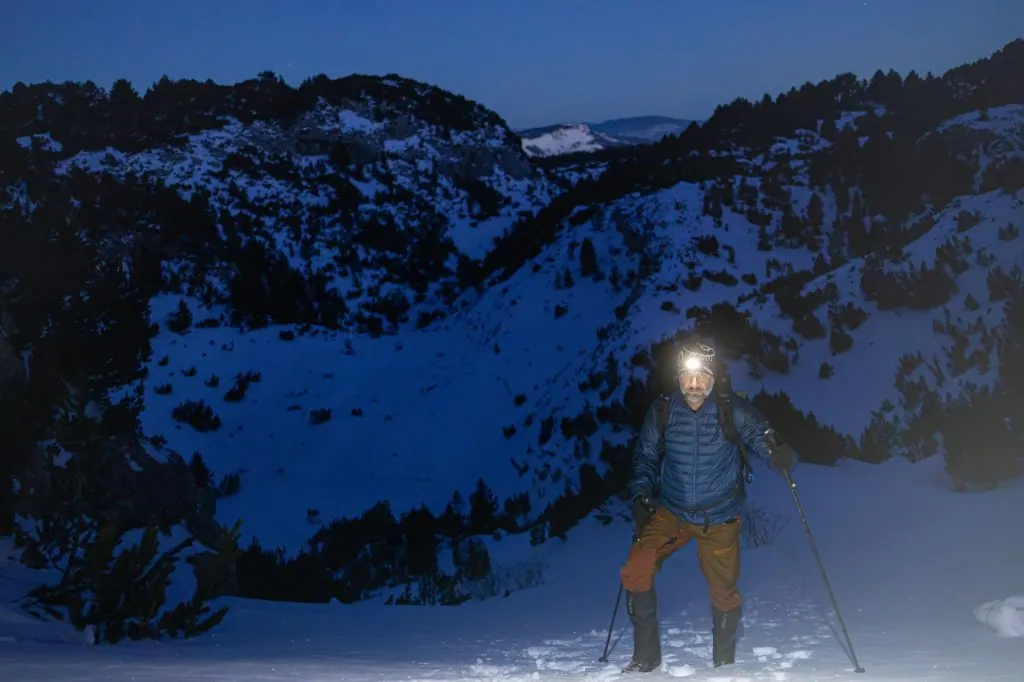
Light is crucial for safety and comfort in the dark. A headlamp is the most versatile lighting tool because it leaves your hands free for cooking, setting up camp, or navigating. A lantern provides ambient light for the campsite, making it easier to see and socialise. Both have their place, and carrying both is often the best strategy.
Headlights come in various brightness levels and beam types. A focused beam is useful for seeing far down a trail, while a flood beam illuminates a wider area for tasks like reading or cooking. Look for a headlamp with multiple lighting modes to conserve battery when full brightness is not needed. Red light modes are useful for preserving night vision and attracting fewer insects.
Solar-powered lanterns are convenient because they can recharge during the day using sunlight. However, their efficiency depends on the intensity of the sun and the size of the solar panel. On a cloudy day, they may not charge significantly. It is best to pre-charge them before your trip and use them as a backup or supplementary light source.
Batteries need care. If your headlamp uses replaceable batteries, carry spares. If it uses a rechargeable battery, ensure you have a way to charge it. Lithium batteries perform better in cold weather than alkaline ones, but they can lose charge quickly if left unused. Store them properly to prevent leakage or damage.
Consider the weight and size of your lighting gear. A compact, lightweight headlamp is easy to carry and store. A bulky lantern might take up too much space in your pack. Look for gear that folds or collapses for easy storage.
If you are camping in a group, share the lighting load. One person can carry the headlamp, while another carries the lantern. This distributes the weight and ensures you have light even if one device fails.
For more ideas on staying comfortable, see Festival Survival Guide for Beginners.
Water filters and purification
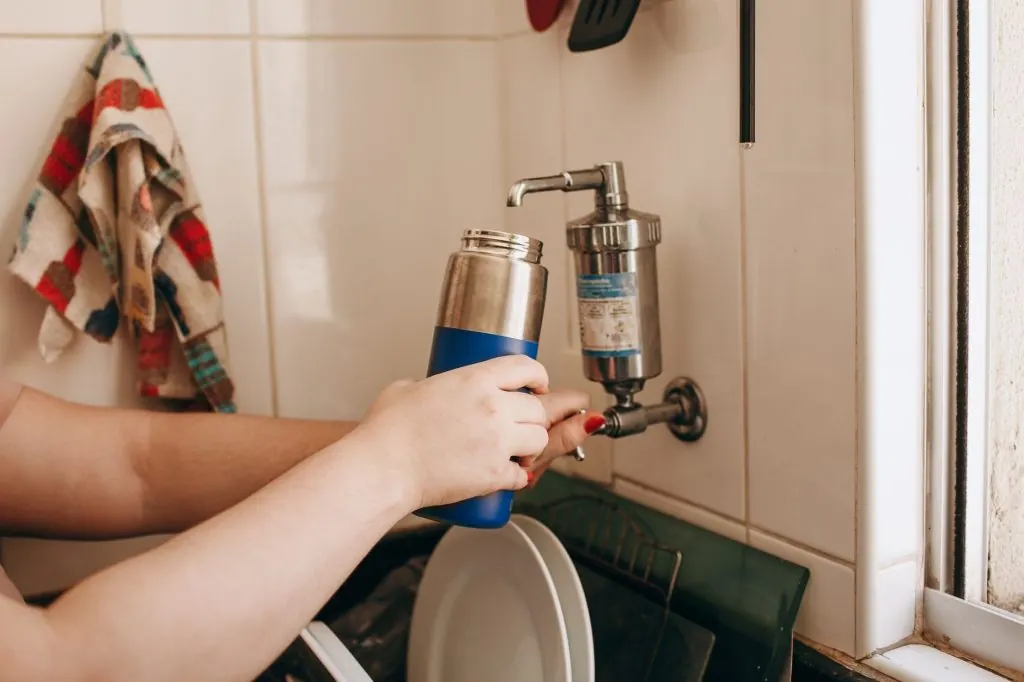
Clean water is vital for health and hydration. Carrying all the water you need can be heavy, especially on long hikes. A water filter allows you to collect water from natural sources and make it safe to drink. Filters remove bacteria, protozoa, and sometimes viruses, depending on the type. They are generally lightweight and easy to use, making them a popular choice for hikers.
There are different types of filters. Pump filters require manual effort to push water through a membrane. Gravity filters rely on gravity to pass water through, which is less labour-intensive but requires a stable setup. Squeeze filters are compact and easy to use, allowing you to drink directly from the bottle. Each type has pros and cons. Pump filters are durable but can be tiring. Gravity filters are easy but bulky. Squeeze filters are convenient but the bags can puncture.
Tablets are a lightweight alternative to filters. They are small, cheap, and effective against bacteria and protozoa. However, they take time to work, usually 30 minutes to several hours, and can leave a taste. Boiling water is the most reliable method, killing all pathogens, but it requires fuel and time.
Water filters do not remove all contaminants. They may not remove viruses, which are smaller than bacteria. In areas with high viral activity, such as near livestock or in developing countries, consider using a filter that also removes viruses or combining filtration with chemical treatment.
Carrying capacity depends on the source. If water is abundant, you can carry less. If sources are scarce, carry more capacity or a lighter filter. Always filter water from streams and lakes, even if they look clean. Stagnant water is more likely to contain pathogens.
Maintain your filter regularly. Clean the membrane according to the manufacturer's instructions to prevent clogging. If the water flows slowly, the filter may be blocked. Backflushing can help restore flow. Store your filter properly to prevent contamination.
Fire starters and cooking
Fire provides warmth, light, and a way to cook food. A fire starter kit ensures you can create a flame even in wet or windy conditions. Traditional matches can fail when damp, but modern fire starters are designed to withstand moisture. Ferro rods are a reliable option, producing sparks that ignite tinder easily. They are durable and do not run out of fuel like lighters.
Lighters are convenient but can run out of fuel or break if dropped. Carry a spare lighter in a waterproof container. Waterproof matches are also a good backup. The key is to have multiple methods of ignition, as any single method can fail.
Cooking stoves are essential for boiling water and preparing meals. Canister stoves are lightweight and easy to use, but the fuel cans can be expensive and create waste. Alcohol stoves are simple and cheap but cook slower. Solid fuel tablets are compact but produce less heat. Choose a stove that matches your cooking needs and weight constraints.
Fire rules vary by location and season. Check local regulations before starting a fire. Some areas prohibit open fires during dry periods. Always have water or sand nearby to extinguish the fire completely. Use a fire pan or a designated fire ring to protect the ground. Collect dead wood from the ground rather than cutting live trees. This preserves the ecosystem.
When cooking, use a windscreen to protect the flame and improve efficiency. A simple aluminium windscreen can reduce fuel consumption significantly. Stir your food regularly to prevent burning. Clean your cookware to avoid attracting wildlife.
Pack out all waste, including food scraps and ash. Leave the campsite as you found it. This practice, known as leave no trace, helps preserve the environment for future visitors.
Flashlights and signalling
A flashlight, or torch, is a versatile tool for visibility. Unlike a headlamp, a flashlight can be held in one hand and used to signal or inspect areas. It is useful for finding items in the dark, checking gear, or illuminating a path ahead. Choose a flashlight with a bright beam and a long battery life. LED flashlights are efficient and durable.
Signalling devices are crucial for emergencies. A whistle is lightweight and can be heard over long distances, even if you are tired or injured. Three sharp blasts are a universal distress signal. A signal mirror can reflect sunlight to attract attention from aircraft or distant hikers. It is effective in clear weather and requires no batteries.
Bright colours can also aid visibility. Wearing a bright jacket or carrying a bright flag can make you easier to spot, especially in low light or dense vegetation. This is particularly important if you are travelling alone or in a group that gets separated.
Ensure your signalling devices are easy to access. Keep your whistle on your backpack strap or in a pocket where you can reach it quickly. Store your mirror in a place where it is not lost in the bottom of your pack.
Test your flashlight and mirror before your trip. Ensure the batteries are charged and the mirror is clean. Practice using the whistle to ensure you can produce a loud, clear sound.
Combine your signalling devices for maximum effectiveness. Use a flashlight to signal at night and a mirror during the day. Carry a whistle at all times, even when you are not in an emergency.
For more on staying safe, see 3 Must Have Accessories when You Go Out Camping.
Survival and first-aid kits
A survival kit contains tools to help you manage unexpected situations. A first-aid kit addresses injuries and illnesses. Both should be tailored to your trip and environment. A basic first-aid kit includes bandages, antiseptic wipes, pain relievers, and blister treatment. Add any personal medications you need.
A survival kit might include a multi-tool, paracord, duct tape, and a space blanket. These items can repair gear, create shelter, or signal for help. A space blanket is lightweight and can reflect body heat, preventing hypothermia. It can also be used as a shelter or a signal device.
Repairs are essential. Carry a small sewing kit to fix torn clothing or gear. Duct tape can mend broken zippers, secure loose straps, or patch holes in tents. A multi-tool is useful for cutting cord, opening cans, or tightening screws.
Know how to use the items in your kit. A bandage is useless if you do not know how to apply it correctly. Practice tying knots and using a multi-tool before your trip. This ensures you can use them effectively under stress.
Pack your kits in waterproof containers. Moisture can ruin bandages and electronics. Keep your first-aid kit accessible, not buried at the bottom of your pack. Store it in a pocket or pouch that is easy to reach.
Check your kit before each trip. Replace used items and check expiration dates on medications. Update the kit based on your experience and the conditions of your trip. If you are going to a cold environment, add hand warmers. If you are going to a hot climate, add electrolyte tablets.
A well-prepared kit can make a minor issue manageable and a major issue survivable. Do not underestimate the value of being prepared.
Packing and trip planning
Packing is not just about stuffing items into a bag. It is about organising your gear for easy access and balance. Place heavier items close to your back and towards the top of your pack to maintain a central centre of gravity. This makes the pack feel lighter and easier to carry. Distribute weight evenly on both sides to prevent strain.
Group related items together. Keep your first-aid kit, fire starters, and signalling devices in one accessible pouch. Store your cooking gear in another. This makes it easy to find what you need without unpacking everything. Use compression sacks to reduce volume and protect delicate items.
Trip planning involves more than just packing. Share your route with someone reliable. Provide them with your expected return time and a contact number. If you do not return by the agreed time, they can alert authorities. This is a simple but effective safety measure.
Check the weather forecast before you leave. Weather can change rapidly in the outdoors. Pack layers to adapt to changing conditions. Bring a waterproof jacket and pants, even if the forecast is sunny. Rain gear is lightweight and can save your trip.
Leave no trace principles should guide your packing. Pack out all waste, including food scraps and packaging. Use biodegradable soap for washing, and dispose of wastewater away from water sources. Minimise your impact on the environment to preserve it for others.
Final checks are crucial. Ensure your power banks are charged, your water filter is clean, and your fire starters are dry. Verify that your map and compass are up to date. Take a moment to visualise your trip and anticipate potential problems. This mental preparation can help you stay calm and focused when challenges arise.
Packing and planning are ongoing processes. Learn from each trip and refine your kit. Over time, you will develop a system that works for you, making your adventures smoother and more enjoyable.
Official sources and further reading
Opening times, entry rules and prices change, so check them on the official sites before you travel:
- National Parks UK: Visitor information for the UK's national parks.
- The Ramblers: Walking routes, access rights and outdoor safety advice.